Directions
- Marinate chicken legs for a few hours in your favourite oil and white balsamic vinegar 3:1 and a little Dijon mustard. No salt or pepper.
- Dredge lightly in flour, dip in beaten egg, and then roll in freshly made loose (not fine) breadcrumbs. Use your preferred seasoning. I like a generous pinch of dried thyme and a little salt and pepper in the crumbs, but just plain is fine, too. (Panko flakes work if you prefer.)
- Brown in hot oil on the stovetop in a deep skillet, turning to seal all sides, for a few minutes. Remove from the skillet and place upright in a baking pan, sized to accommodate all the pieces.
- Cover tightly with heavy tinfoil (shiny side in); poke a couple of steam release small holes in the tinfoil and bake at medium high heat (350-375 F) for about a half hour.
- Remove the tinfoil and use it to make an open tent to cover while the chicken rests.
These fabulous chicken legs can be served immediately or counter cooled and refrigerated to serve at room temperature or cool the next day. Amazing finger food. - Serve with your favourite salad.
These chicken legs are super picnic fare or great to take along to a potluck meal. You likely will never want to eat chicken legs prepared any other way again.
A variation: try doing a large turkey leg using this recipe. Gauge your cooking time according to the size, as you normally would.
Always test poultry to make sure it is completely cooked – but absolutely not overdone, as poultry will get chewy and tough.
Coleslaw extraordinaire
Cabbage is touted as a natural healer food, often recommended to keep a liver healthy. It’s often said to heal a stomach disorder. A bowl of this dish can make a whole meal in all seasons. Served with a buttered roll, it makes a delightful lunch. It’s also an ideal picnic food.
As a side dish, accompanying any meal, it’s wonderful, but fish and chips are just not complete without coleslaw.
It’s best to always make your own coleslaw and it can be done in no time. Keep some on hand for a go-to favourite. For those who grow their own vegetables, this will be a fabulous standby to have on hand.
Directions
- Shred cabbage and very fresh, sweet, raw carrots, very fine; almost minced. A mandolin works well, set to fine, but be extra careful. The blades are very sharp.
- Marinate shredded cabbage and just a little bit of carrot for a few hours in white balsamic vinegar and white sugar mix, 3:1. Keep the marinade on hand in fridge, but let it come to room temperature prior to using.
- Shake to emulsify. Use enough to completely cover the cabbage and carrots. Cover the bowl while the vegetables marinate with a fresh tea towel and let rest. Keep the air out.
- Drain completely, wrapped and squeezed in cheesecloth. Add your favourite mayonnaise, the real thing, ideally homemade, that you keep on hand in the fridge. Some people like less sauce, others more.
- Sprinkle with a little salt and just a tiny bit of fresh cracked pepper. Keep refrigerated until ready to serve once the mayo is added.
Never let anything containing mayonnaise sit on the counter indefinitely – and certainly never let it sit in the sun, if serving outside in hot weather.
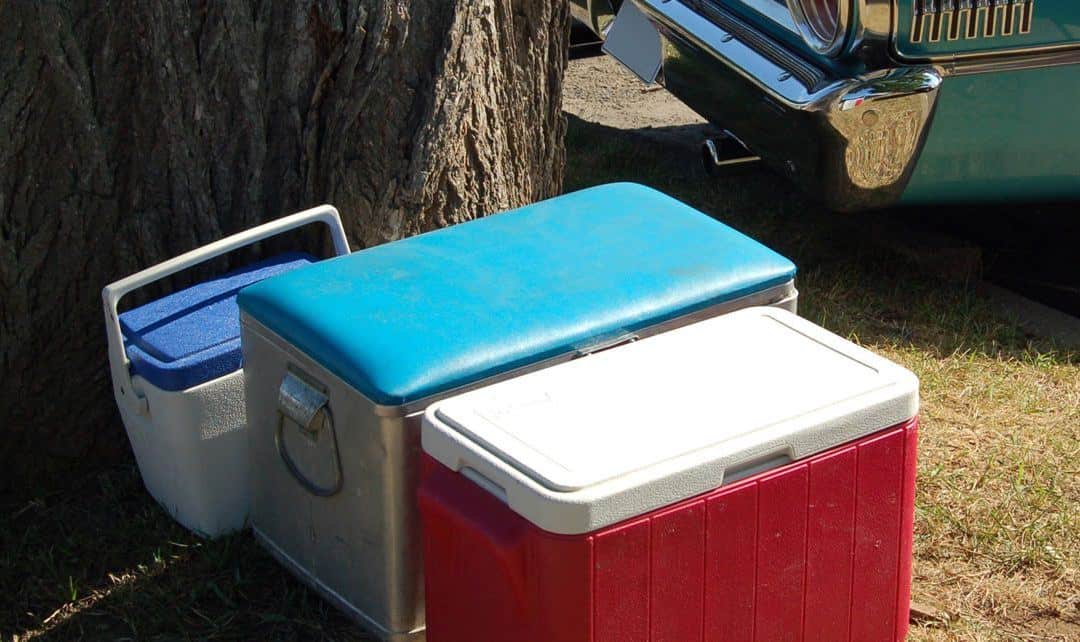
Keep food that is to be served outside in a travel cooler until ready to serve. Keep covered, preferably in a glass container. You don’t want a chemical reaction between plastic and vinegar. Likewise, never store any food that has vinegar in it in plastic containers.
Eggs can go bad in hot or humid air. And mayo typically has eggs or egg yolks.
Homemade mayo will keep, covered airtight in a glass bottle, in the fridge, for at least six months.
For a little change up for your friends or family expecting a little gourmet extra, at the last minute, stir in a smidgen of freshly grated horseradish. Or a minuscule bit of Dijon mustard. Not much of either, because you don’t want to overpower the already wonderful taste.
Make lots because someone will want a take-home serving, no doubt.
Another keeper recipe – even for those who say they don’t cook.
The working title for Carolyne’s Gourmet Recipes cookbook is From Lady Ralston’s Kitchen: A Canadian Contessa Cooks. This kitchen-friendly doyenne has been honoured and referred to as the grande dame of executive real estate in her market area during her 35-year career. She taught gourmet cooking in the mid-70s and wrote a weekly newspaper cooking column, long before gourmet was popular as it is today. Her ebook, Gourmet Cooking – at Home with Carolyne is available here for $5.99 US. Email Carolyne. Scroll down to the comments at each recipe column. Carolyne often adds complimentary “From Lady Ralston’s Kitchen” additional recipes in the Recipes for Realtors Comments section at REM.


