







 By Sebastian Petrescu
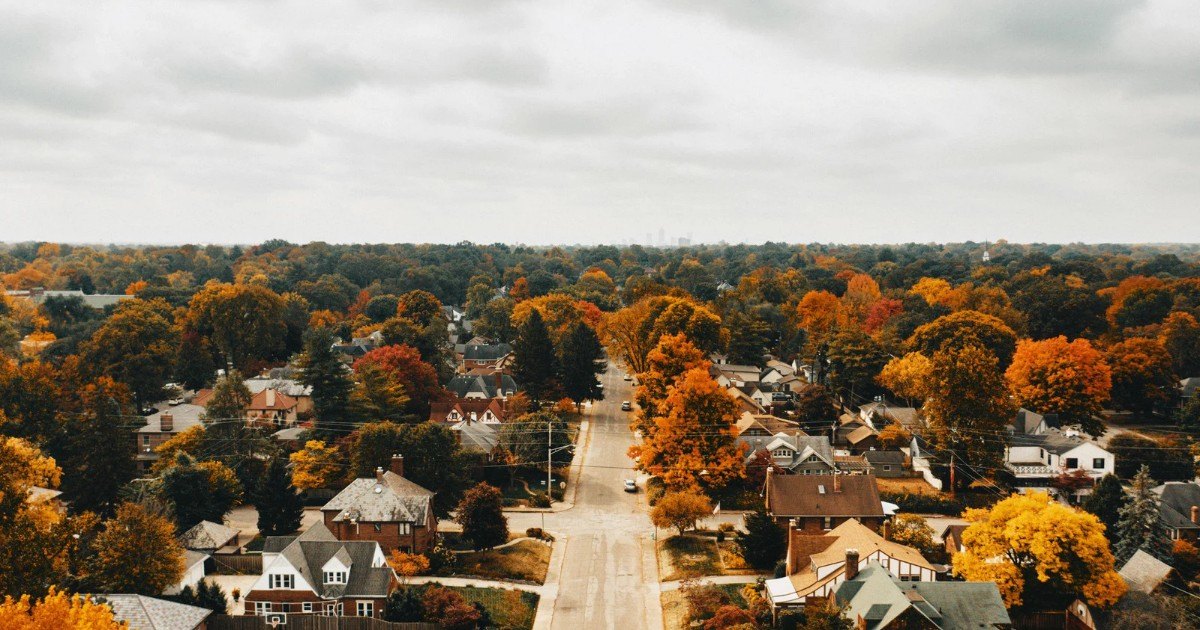
How many listing photos do you think you browsed through last week? 100? 500? Heck, 1,000 or more? Realtors and buyers flip through so many photos looking for that one they can add to their shortlist. But how do you make your photo stand out in all that browsing? You need to show your listing in a way that’s different from your competition. You need a photo that helps stop them dead in their tracks and makes them actually think about the property. Often something as simple as showing the home from a different photo angle does the trick. Here’s where elevated photography comes in – real estate photographs taken from an elevated angle. It’s not new but its popularity is on the rise thanks to innovative technology.
You have four basic options when it comes to photographing your listing from above.
1) Pole Photography (10-35 feet, about $100 for the equipment) – This is the only type of elevated photo you can take yourself without a huge investment. A Google search for “pole photography” will guide you to a company that sells a $29 camera attachment for a regular painter’s pole you can purchase at a local hardware store. Simply attach it to the pole (with your camera) and extend it until you reach the desired height. You can’t see the viewfinder from the ground, so be prepared to experiment with multiple angles. The pole can get pretty heavy when fully extended, so take caution or have someone else help you. A small, light camera is recommended for this method.

A typical listing photo taken from the street, and the same house in an elevated photo.
2) Mast Photography (10-80 feet, about $250/listing) – This is basically a tripod on steroids. The mast is extendable either by hydraulic action or manually by the user. They can be tethered to a vehicle for electrical supply or be completely portable, allowing the photographer to set up in a backyard. Typically made from aluminum, when extended they are limited by strong winds and rain, as are the rest of the methods described here. However, they take photos from the most ideal height range for real estate listings. The sweet spot is around 45 feet and the camera is controlled remotely. Shoots usually take about one hour depending on the property size.
3) Blimp Photography (100-700 feet, about $750/listing) – A balloon or blimp is launched with the camera on a harness, controlled remotely. Set-up/shoot times are longer and wind plays a limiting factor. However you can get quite high in the air without resorting to a plane or helicopter. From this height, you can usually capture most of the property in just one photo.
4) Aerial photography (300 feet and above, about $600+/listing) – This can get expensive so be sure to use a company dedicated to real estate so it keeps to your budget. This is great for including surrounding areas in the photograph. It’s also great for large lots, vacant lots, cottages or even condos. Feeling adventurous and looking to save some money? Call your local small-craft airport and see if a junior pilot will take you up so he or she can build their hours for $200. Make sure to take a zoom lens. I would wait to eat until after you land.
The price of these services can range from $50 – $1,000+. Prices are typically dependent on the height you wish to acquire. These days, photographers usually charge a fee for gas due to the vast range in distances they service – typical for services based on location. You don’t have to attend the photo shoot yourself. As long as the photographer has access to the grounds and the homeowner has prepared the landscape for the shoot. Toys, garbage, hoses and other unwanted objects should all be put away in time for the shoot.
When you post your elevated photo on MLS or in a newspaper or website, the odds may be in your favour. It looks different compared to the other land-level photographs. It makes the viewer stop and look around the photo, getting a better feeling of the property as a whole. You want them to start investing time imagining themselves living there and the lifestyle possibilities the property could bring them. This is what would make an elevated photo worth your investment. It’s the possibility of a faster sale because it captures more attention and visually educates the buyer about the property better than a simple land-level photo.
Not all properties are worth the investment. Some would look just fine photographed from ground level. It is up to you to decide if an elevated view will benefit the listing, so use your imagination to envision what the property would look like from above and which angles would work best.
There are not too many elevated photography providers in business yet. There’s more physical work and specialized equipment involved than with typical real estate photography, making entry into the field limiting. When choosing a photographer, make sure you view their portfolio to see if their post-processing style resonates with you. Saturated colours, sharp photos and professional shadow/highlight adjustments are what will make your listing photo pop and stand out from your competition. Your photographer should also remove any wires or other unwanted objects from each photo. If you think they missed something, just ask to have it fixed.
 An elevated photo is no magic bullet but it’s worth considering when listing a new property. The more you educate buyers on the property and the more your listing stands out, the faster your brand will reach new heights.
Sebastian Petrescu is a Southern Ontario real estate photographer at Elevated Photos Canada. He shoots mast photography and home interiors for his loyal customer base. www.elevatedphotos.ca; Email [email protected]